
Migrating Information to Your MacBook
You can follow the prompts in Setup Assistant to migrate existing user accounts, files,
applications, and other information from another Mac computer. You can do this with
one of the following methods:
Â
Using an Ethernet cable connected directly to both computers, or connecting both
computers to the same network
Â
Wirelessly—directly between the computers, or with both computers on the same
wireless network
Before migrating, use Software Update on your other Mac to ensure you have either
Mac OS X v10.4.11 or Mac OS X v10.5.6 (or later).
You can choose the items (user accounts, documents, movies, music, photos, and so
on) that you want to migrate to your MacBook.
Important:
Don’t use the other Mac for anything else until the migration is complete.
If you don’t use Setup Assistant to transfer information when you first start up your
computer, you can do it later using Migration Assistant. If the connection is terminated
during migration, you can resume the migration at a later time using Migration
Assistant on your MacBook and your other Mac. Go to the Applications folder, open
Utilities, and double-click Migration Assistant.
Chapter 1
Ready, Set Up, Go
15
Step 5:
Customize the Mac OS X desktop and set preferences.
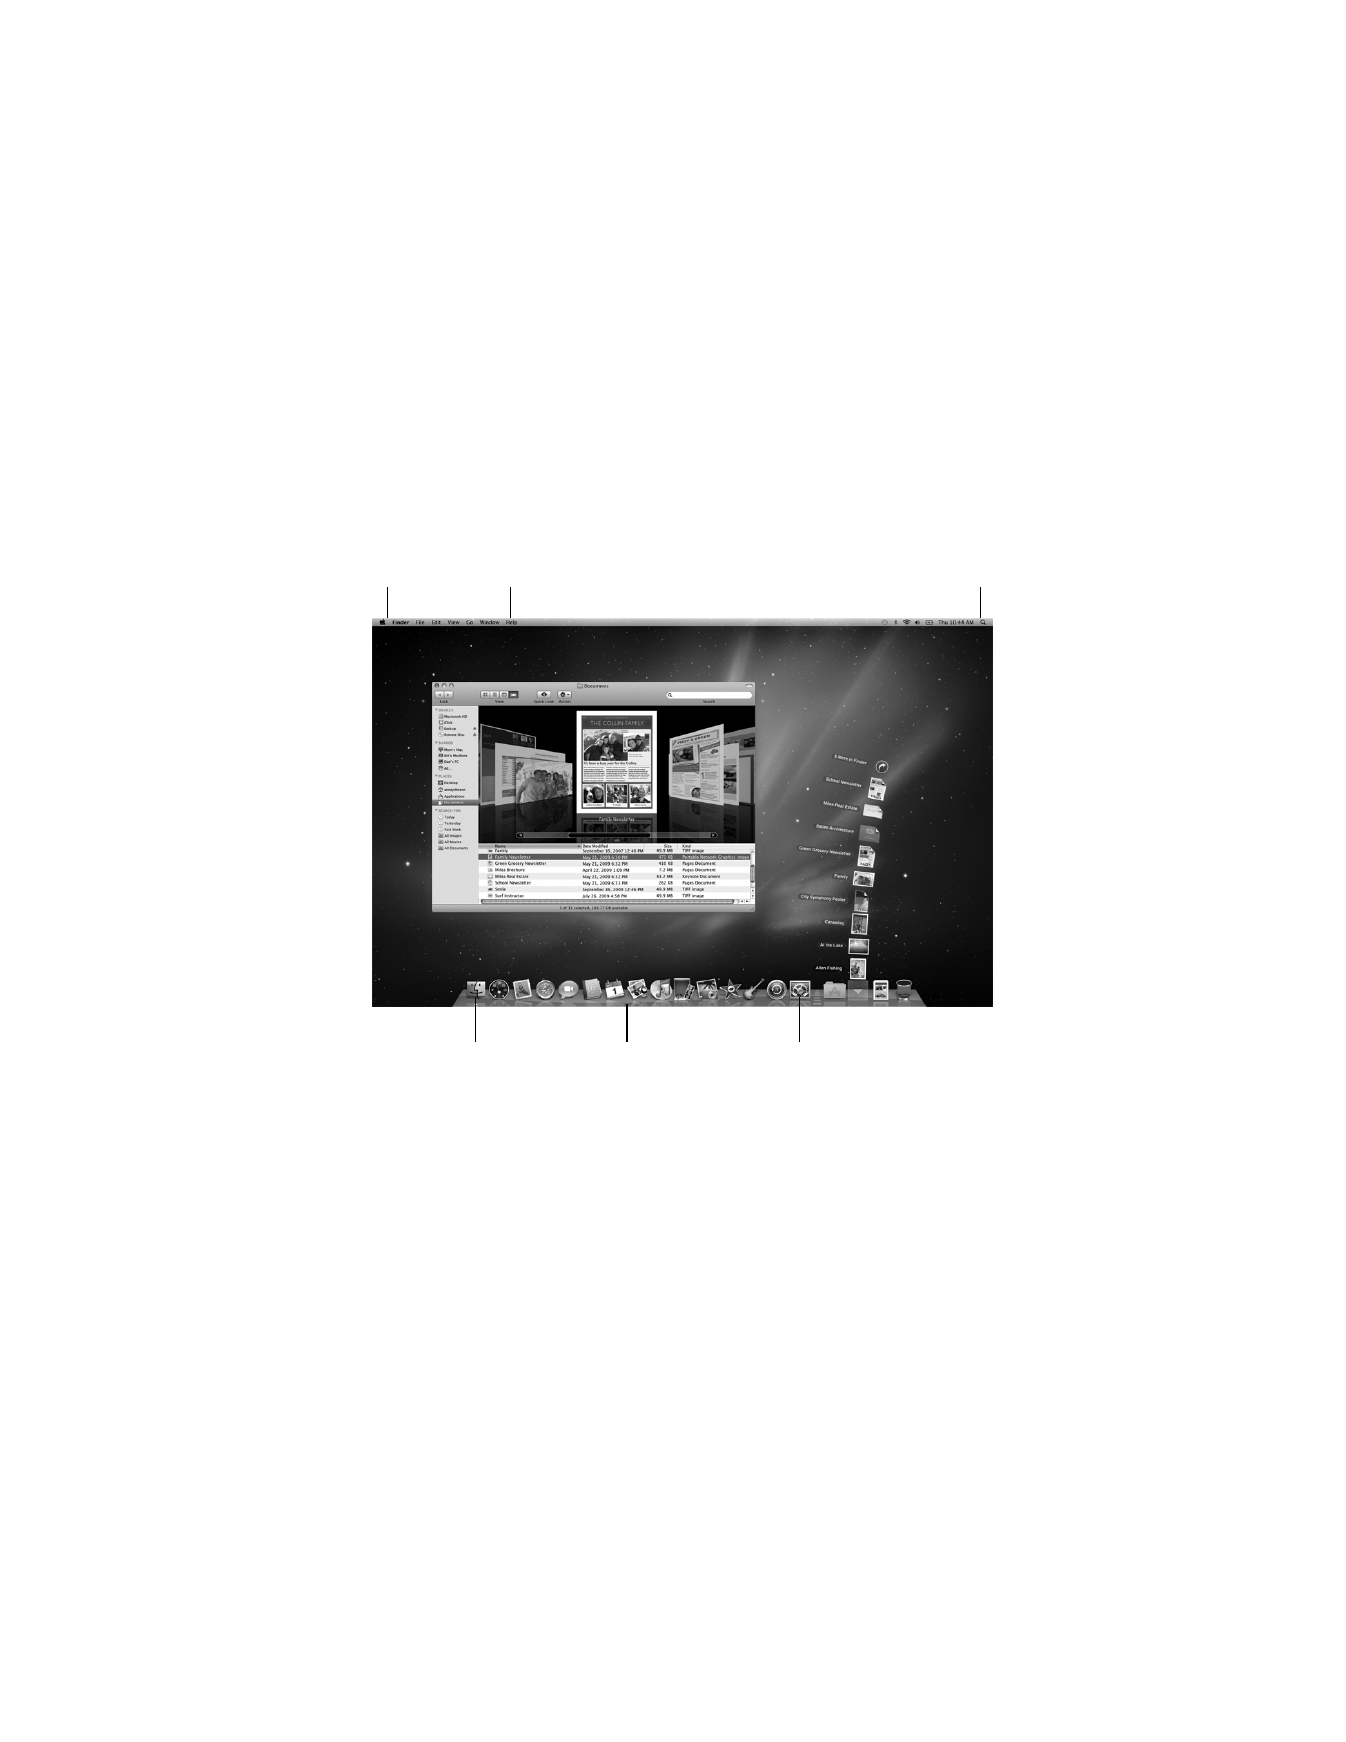
Menu bar
System Preferences icon
Dock
Spotlight search icon
Help menu
Finder icon

16
Chapter 1
Ready, Set Up, Go
You can quickly make the desktop look the way you want using System Preferences.
Choose Apple (
) > System Preferences from the menu bar. As you get to know your
computer, explore System Preferences, your command center for most settings on your
MacBook. For more information, open Mac Help and search for “System Preferences”
or for the specific preference you want to change.