Setting Up Your MacBook
Your MacBook is designed so that you can set it up quickly and start using it right
away. The following pages take you through the setup process, including these tasks:
Â
Plugging in the 60W MagSafe Power Adapter
Â
Connecting cables and accessing a network
Â
Turning on your MacBook and using the trackpad
Â
Configuring a user account and other settings using Setup Assistant
Â
Setting up the Mac OS X desktop and preferences
Important:
Remove the protective film around the 60W MagSafe Power Adapter before
setting up your MacBook.
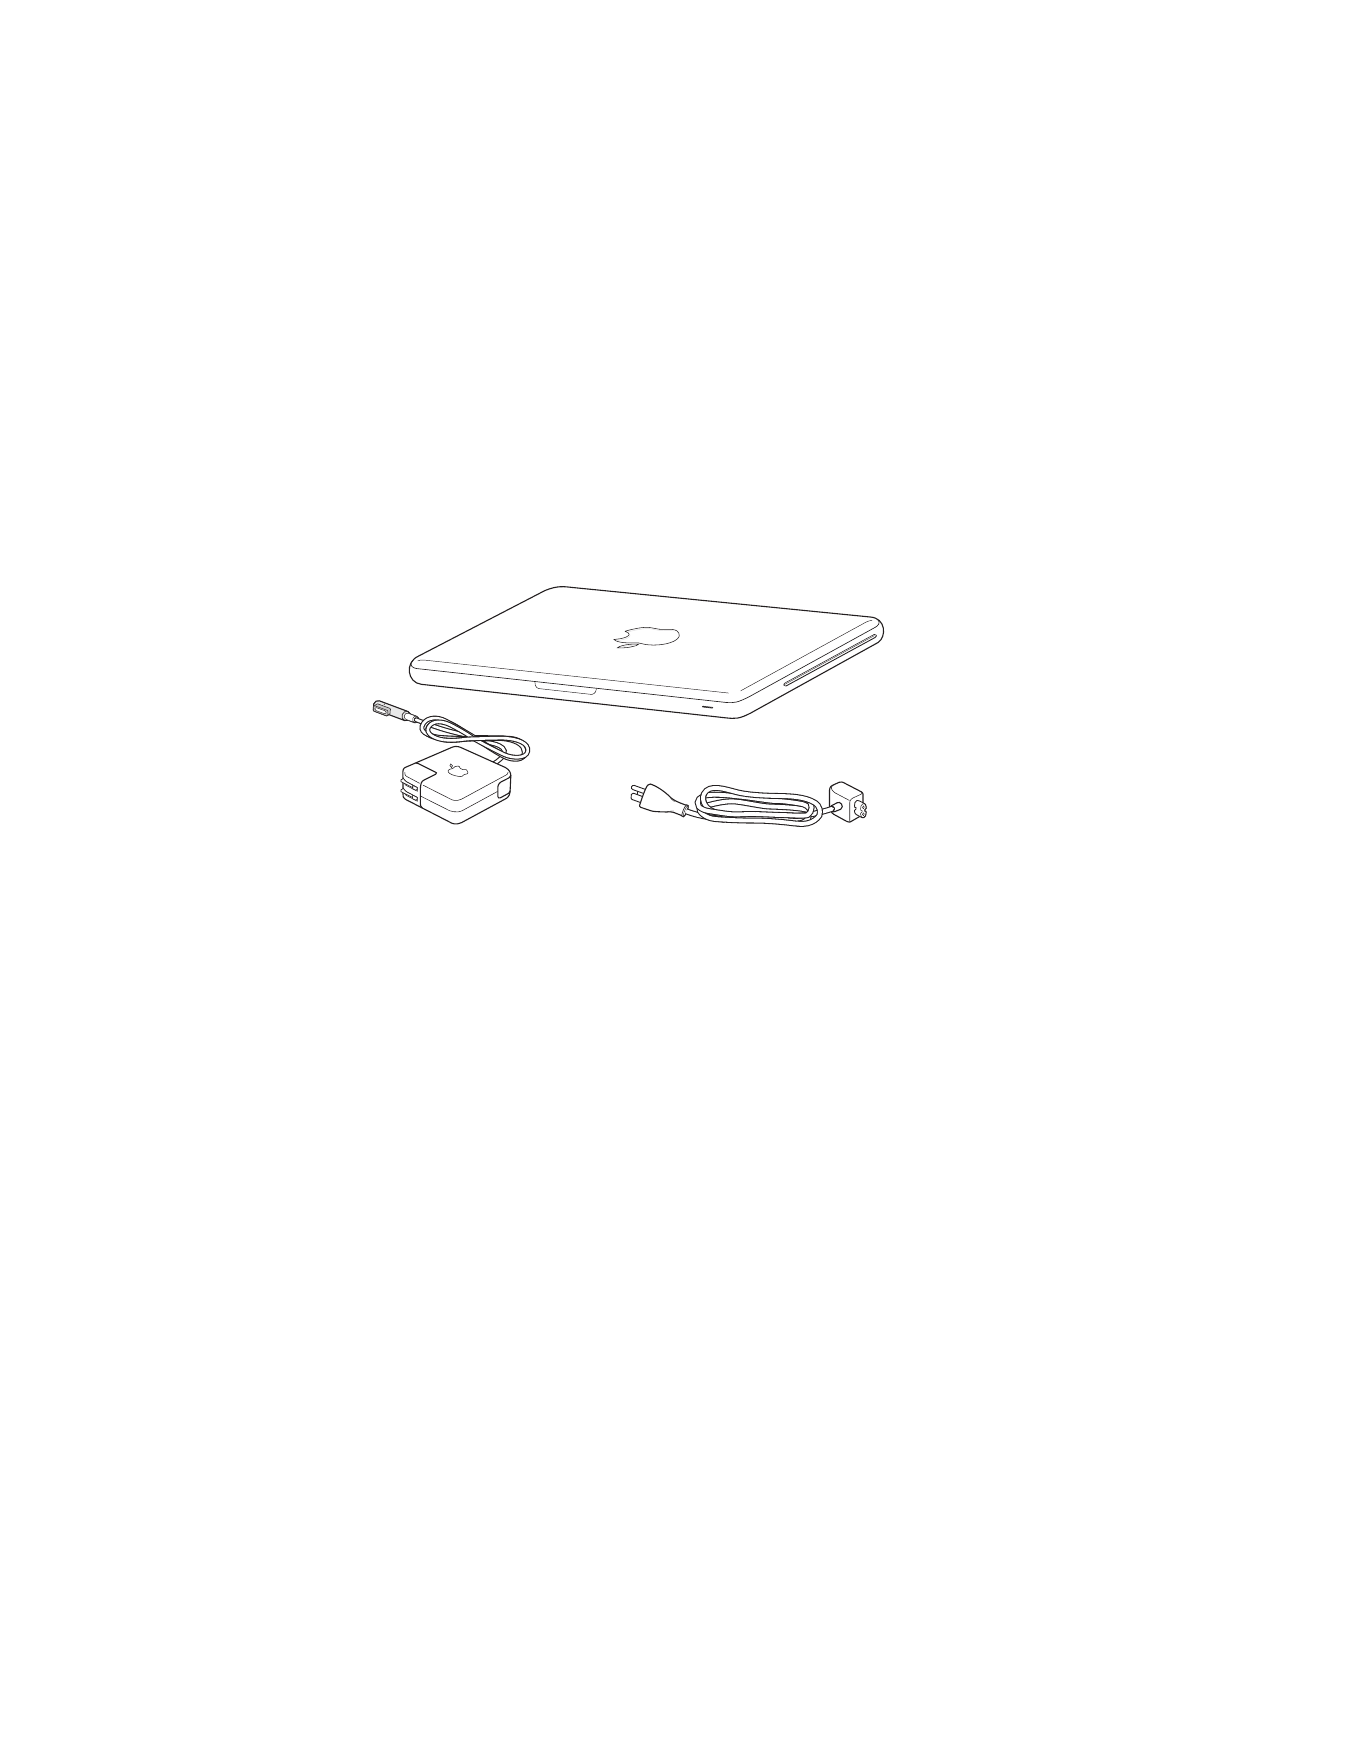
AC power cord
60W MagSafe Power Adapter
10
Chapter 1
Ready, Set Up, Go
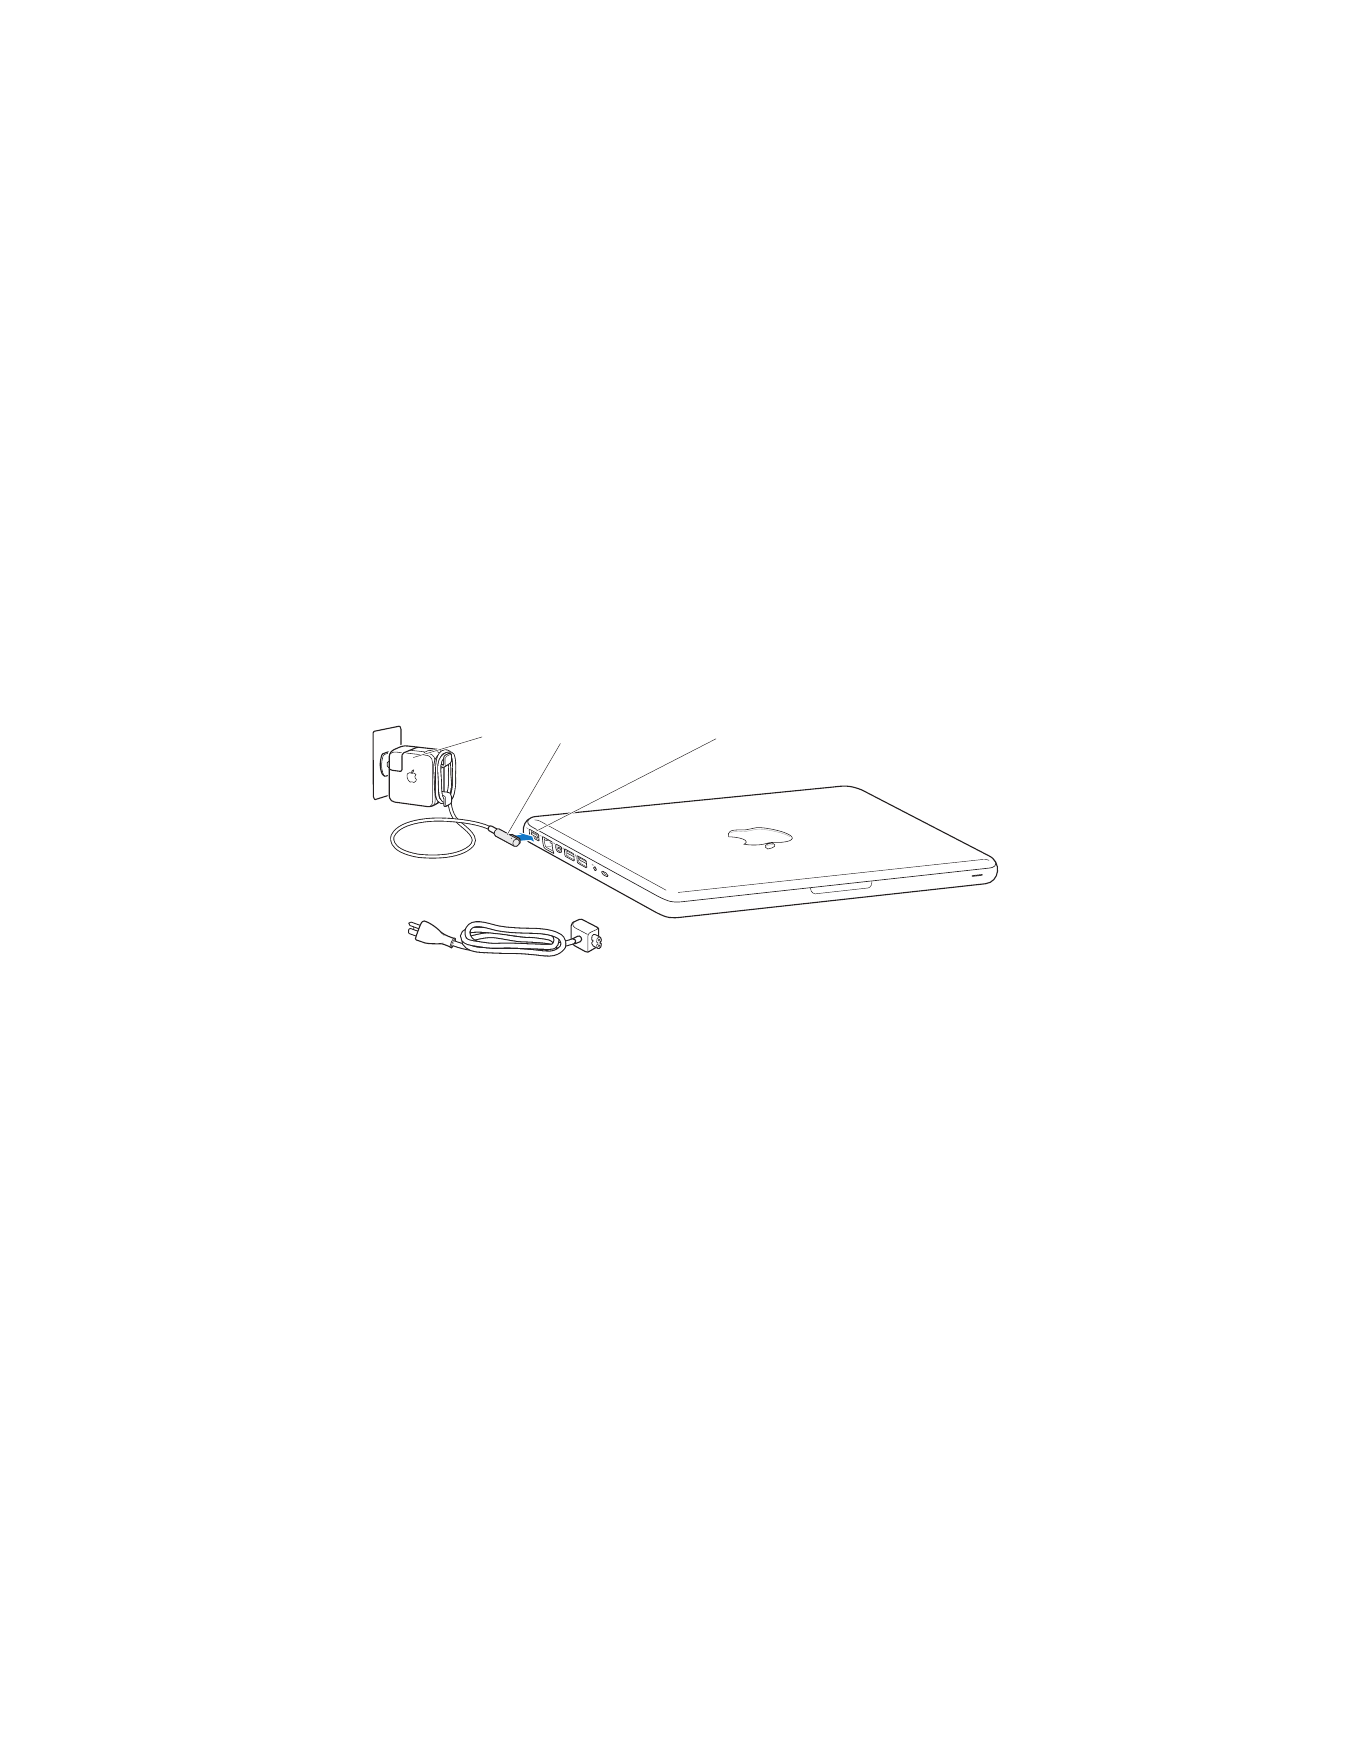
Step 1:
Plug in the 60W MagSafe Power Adapter to provide power to the MacBook
and charge the battery.
Make sure the AC plug is fully inserted into the power adapter and the electrical
prongs on your AC plug are in their completely extended position. Insert the
AC plug of your power adapter into a power outlet and the MagSafe connector into
the MagSafe power port. As the MagSafe connector gets close to the port, you’ll
feel a magnetic pull drawing it in.
To extend the reach of your power adapter, replace the AC plug with the AC power
cord. Pull the AC plug up to remove it from the adapter, and then attach the included
AC power cord to the adapter, making sure it’s seated firmly.
When disconnecting the power adapter from an outlet or from the computer, pull the
plug, not the cord.
MagSafe connector
AC power cord
AC plug
¯
MagSafe power port
Chapter 1
Ready, Set Up, Go
11
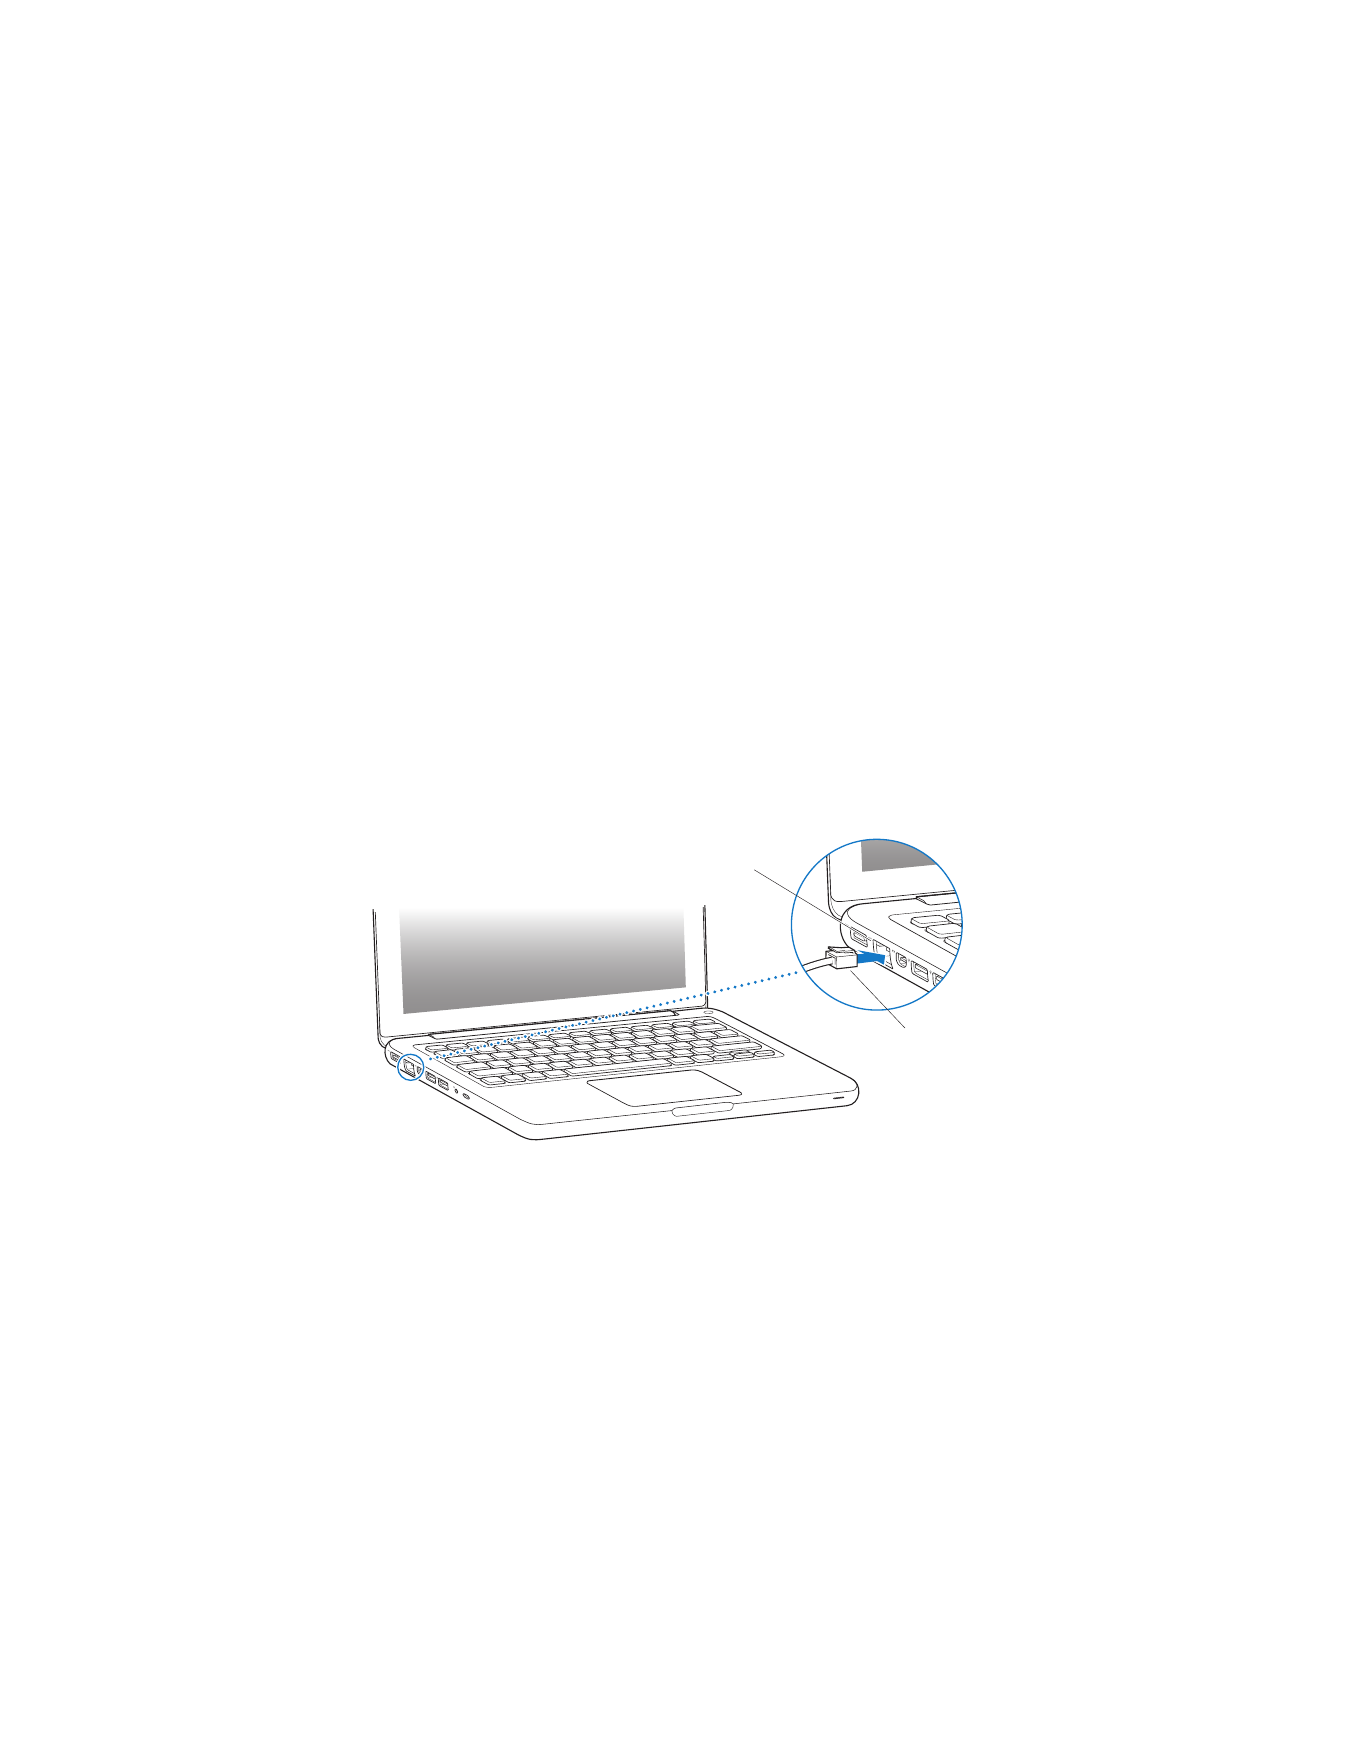
When you connect the power adapter to your MacBook, an indicator light on the
MagSafe connector starts to glow. An amber light indicates that the battery is
charging. A green light indicates that the battery is fully charged. If you don’t see a
light, make sure the connector is seated properly and the power adapter is plugged in.
Step 2:
Connect to a wireless or wired network.
Â
To use a wireless network with the built-in AirPort Extreme technology, make sure
the wireless base station is turned on and that you know the name of the network.
After you turn on your MacBook, Setup Assistant guides you through the connection
process. For troubleshooting tips, see page 60.
Â
To use a wired connection, connect one end of an Ethernet cable to your MacBook
and the other end to a cable modem, DSL modem, or network.
®
Ethernet
cable
Gigabit Ethernet port
(10/100/1000Base-T)
G
12
Chapter 1
Ready, Set Up, Go
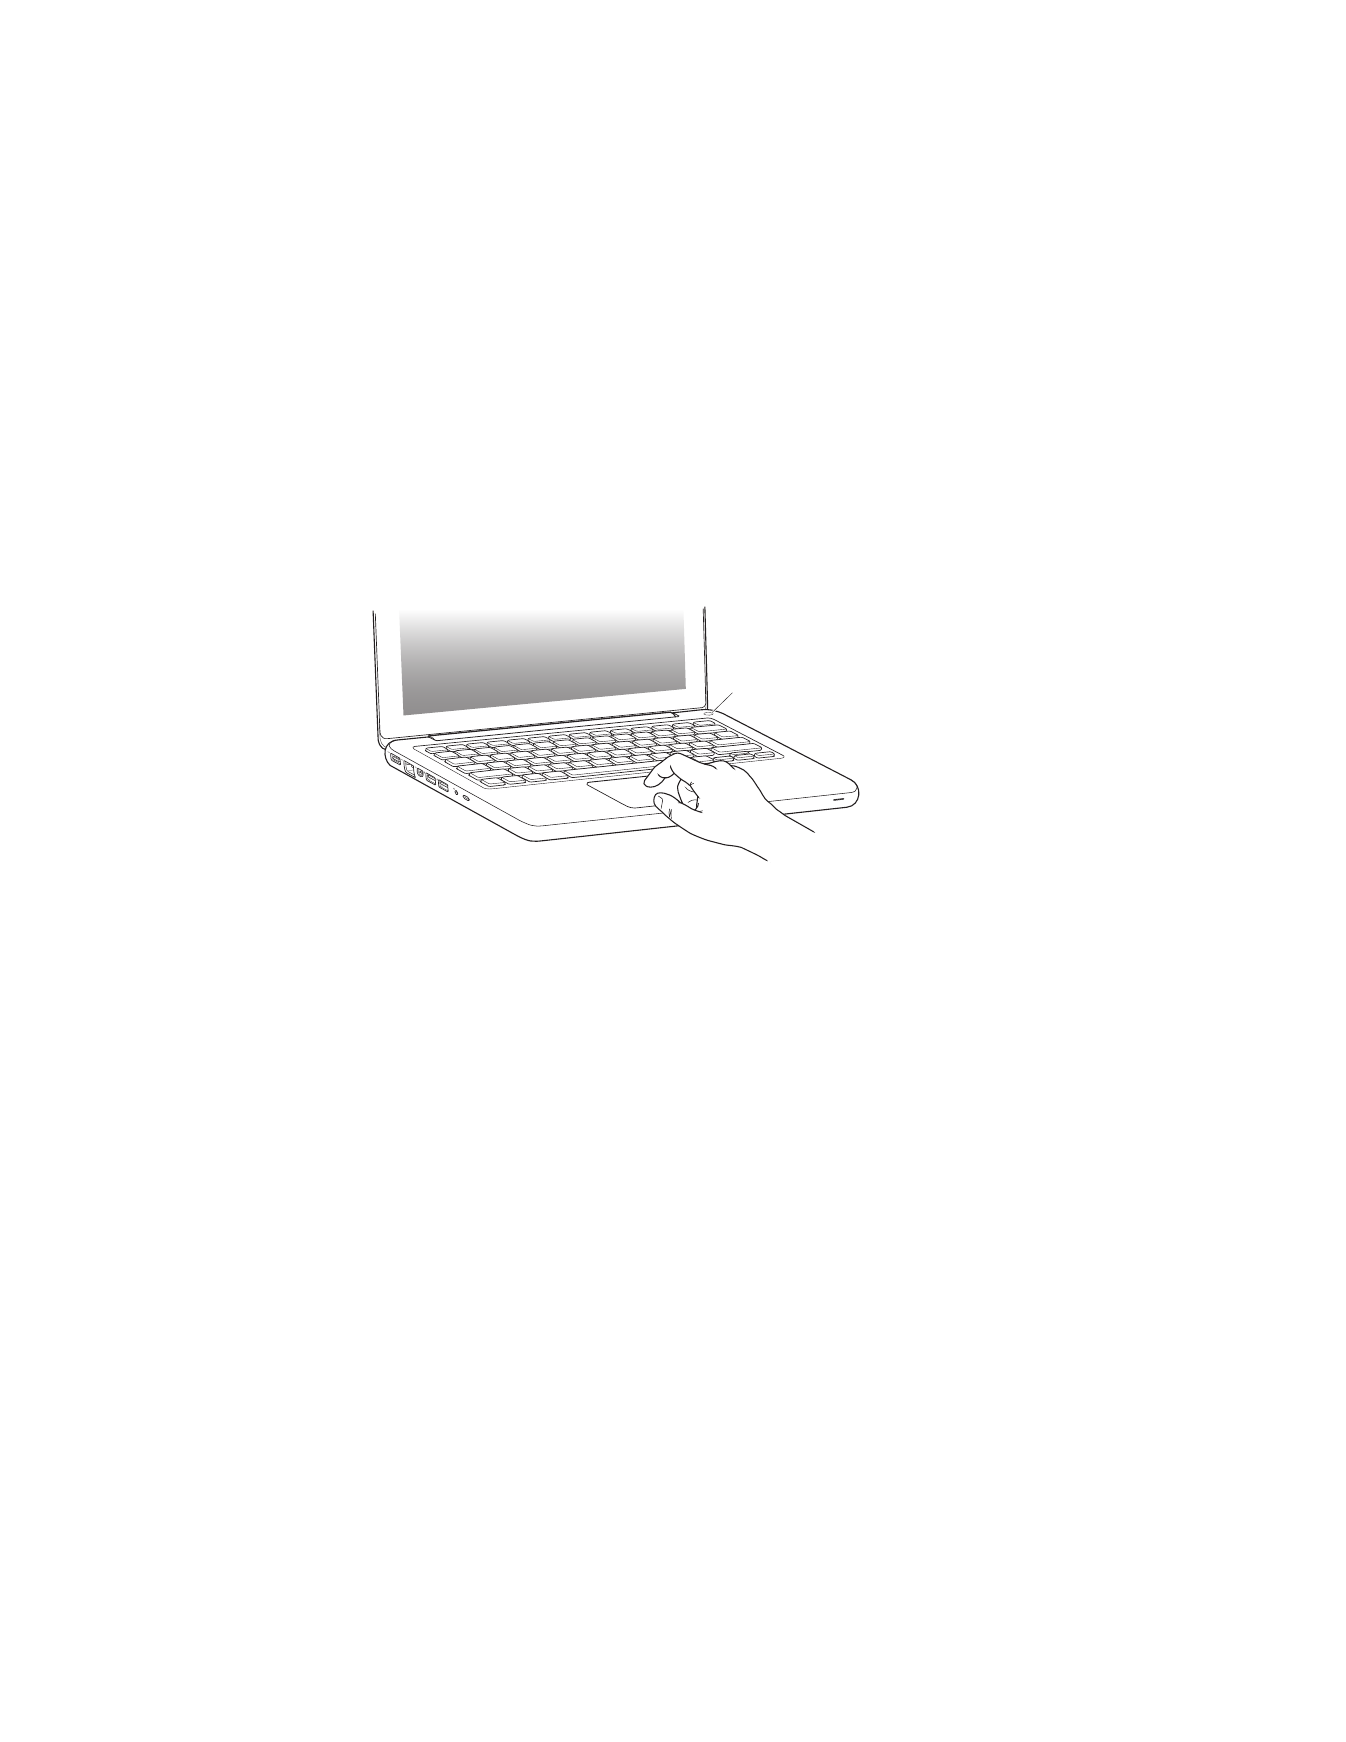
Step 3:
Press the power (®
) button briefly to turn on your MacBook.
You hear a tone when you turn on the computer.
It takes the computer a few moments to start up. After it starts up, Setup Assistant
opens automatically.
If your computer doesn’t turn on, see “If your MacBook doesn’t turn on or start up” on
page 54.
®
®
Power button

Chapter 1
Ready, Set Up, Go
13
Step 4:
Configure your MacBook with Setup Assistant.
The first time you turn on your MacBook, Setup Assistant starts. Setup Assistant
helps you enter your Internet and email information and set up a user account on
your MacBook. If you already have a Mac, Setup Assistant can help you automatically
transfer files, applications, and other information from your previous Mac using an
Ethernet or wireless connection. See the next section, “Migrating Information to Your
MacBook,” for more information.
If you don’t intend to keep or use your other Mac, it’s best to deauthorize it from
playing music, videos, or audiobooks that you’ve purchased from the iTunes Store.
Deauthorizing a computer prevents any songs, videos, or audiobooks you’ve
purchased from being played by someone else and frees up another authorization
for use. For information about deauthorizing, in iTunes, open Help > iTunes Help.

14
Chapter 1
Ready, Set Up, Go